Before adding the blog feature to broccolifamily.net I wanted to try and get a blog running on my own. I also wasn’t sure how to integrate it with the rest of the pages or how exactly it would work. Fatcow offered a couple of blogging engines (WordPress, b2evolution, etc.). In the end I selected b2 evolution and downloaded the latest release to Windows and extracted it to my web_projects directory.
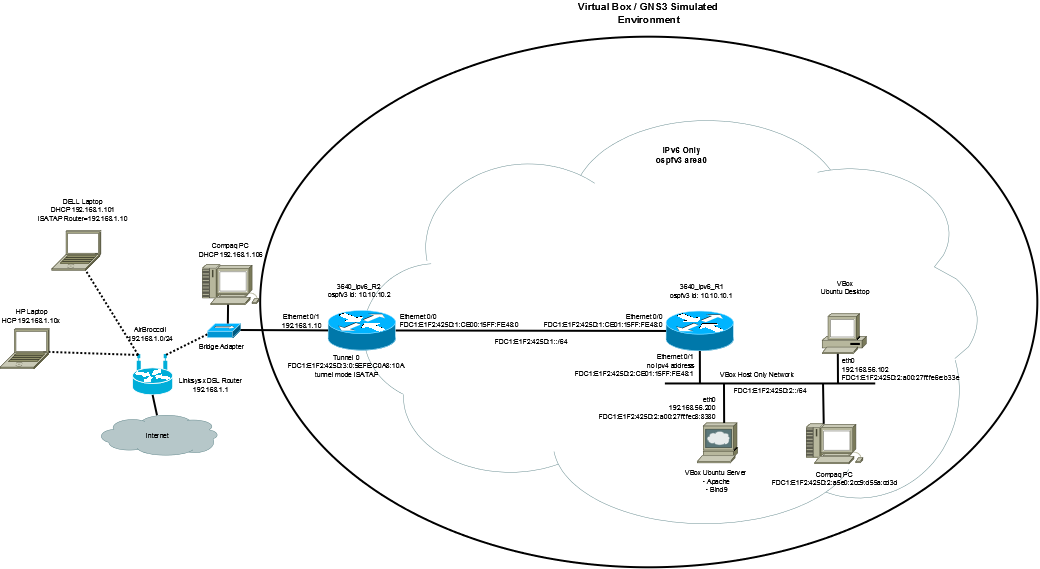
b2evo requires that Apache, MySQL, and PHP be installed on the web server. Since I have the Ubuntu server running in VBox, I decided to use it as my web server. I also installed PhpMyAdmin to allow me to managed MySQL from a web gui.
sudo apt-get install apache
sudo apt-get install mysql-server
sudo apt-get install php5-cli
sudo apt-get install phpmyadmin
Once all 4 were installed, I logged in to phpmyadmin (http://192.168.1.108/phpmyadmin/ ) as root using the password defined when installing MySQL. Added cbroccoli with my standard password and all admin rights.I then created a new database called b2evo with the default characteristics.
Added another user for b2evoltion to access the db: u: b2evo / p: b2evouser
Once this was done, I uploaded the blog directory as a subdirectory in the web site. This allowed me to then open the page: http://192.168.1.xx/blogs/install/index.php to complete the installation.
Once this was done, the dashboard was available and so were the sample blogs. I followed the instructions to create a new skin as described in:
http://manual.b2evolution.net/Create_a_new_skin
The skin is basically the php code which generates the blog page. Problem is that the code which is listed on the web page is wrong, by copying the core code from one of the other skins (the custom skin), I was able to get my information added to the page. Now it is just a matter of updating the style tags to match the rest of the web site.

