Category Archives: Ubuntu

Building a Reusable WordPress Image in GCP

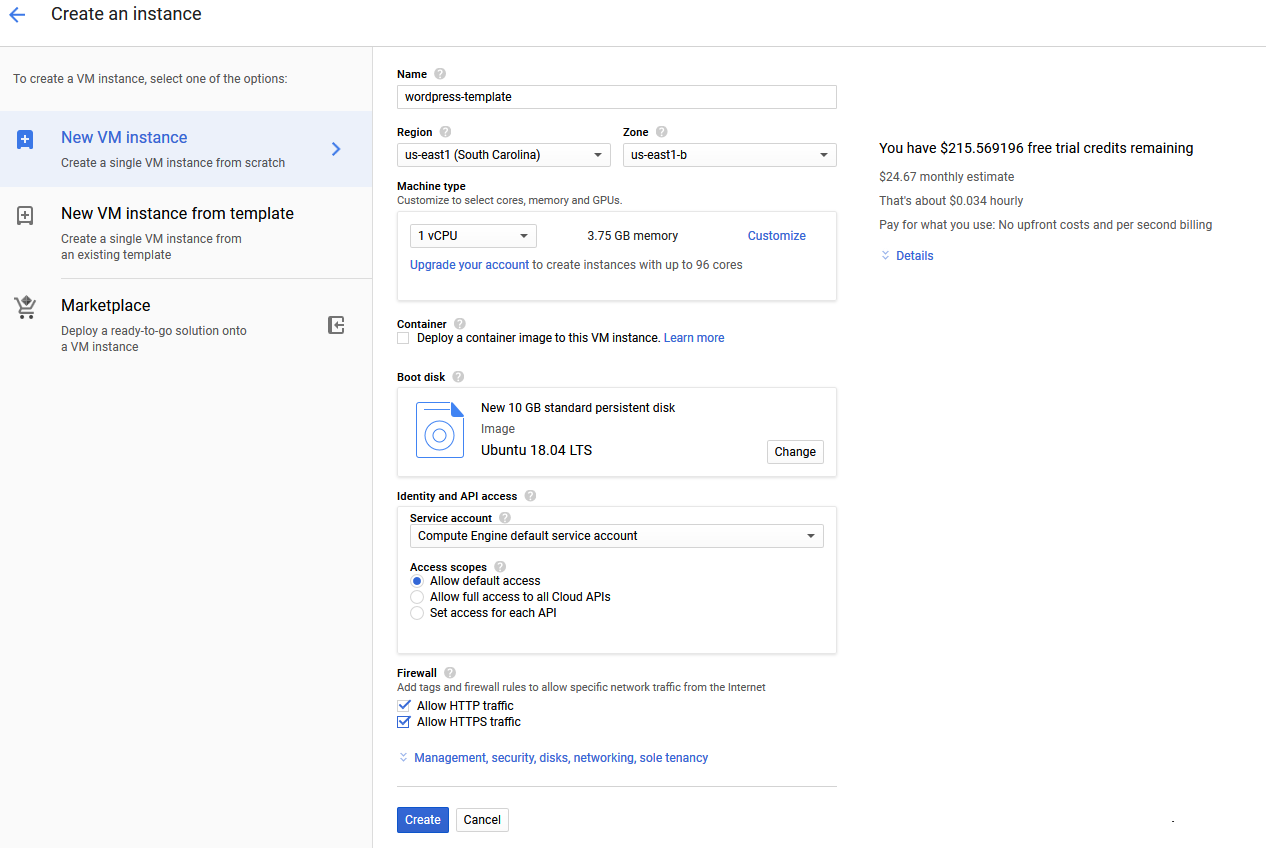
Installing WordPress is fairly straight forward and there are a number of Blogs which describe the process.  For my host I decided to use the standard GCP Ubuntu 18.04LTS image as the base OS.

Ubuntu Image

I then followed the Digital Ocean Blog for installing a LAMP stack and WordPress on the server.   This was fairly straight forward.  The biggest issue I had was logging back into MySQL as root to create the WordPress database.  The commands shown just say to run MySQL…’ mysql -u root -p’, but you get an authentication error when you do this without sudo first.  Dumb issue but took me a while to figure it out.

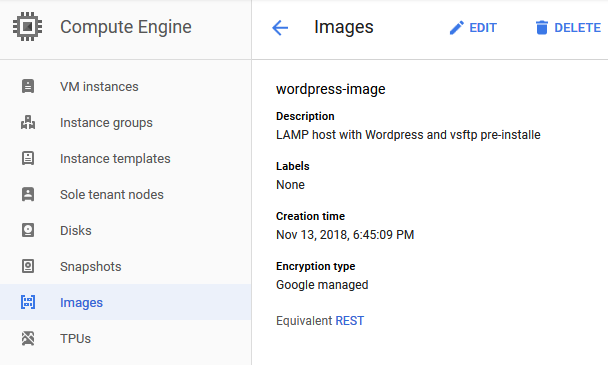
Once the host was running and WordPress was working, I then created a snapshot of the disk and from the snapshot, created an image.  An alternative is just to create the image directly from the source disk, but for that you need to shutdown the host.  I tried both methods and in this case saw no difference.  The final result is a reusable fully functional WordPress image (see this post for why it is not really fully functional)…

WordPress Image


veripy Lab Setup

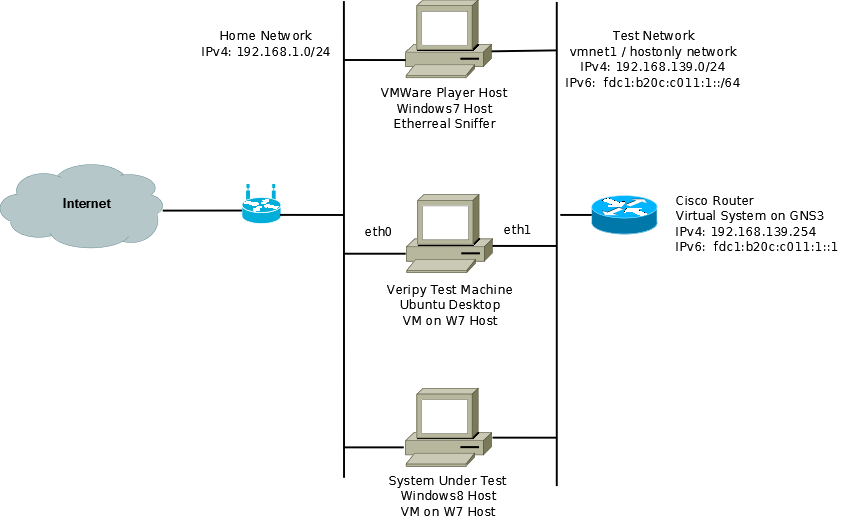
The lab I planned on using for this project centered around a Ubuntu desktop client installed as a VM under VMWare player.   In order to provide IPv6 connectivity, I used GNS3 with a virtual Cisco router running IOS 12.4(21).  I used a evaluation version of Windows8 as the system to run the tests against.  Windows8, even though it is an evaluation version which I got as a beta version seems to keep itself up to date, so I figure it should pass with flying colors.  To monitor much of the testing I planned on using Etherreal which is installed natively on my Wondows7 host workstation.  The following diagram should make everything clear:
Installing veripy took longer than expected due to my lack of knowledge about Python.  Python is an interpreted programming language which is supported by default under Ubuntu.  I have never installed or used a Python based application and so learned a lot about how Python works during this installation, mostly because I have trouble following directions.  veripy required a couple of other Python based applications to make it work, the most important of which is Scapy, the program used to generate the IPv6 packets (especially the bad ones, wrong version number, etc.).  Most Python modules are installed like normal applications using the “appget” command.  Modules are installed under the Python directory.

I started by downloading the veripy-1.0.1.tar.gz archive and unpacking into a subdirectory called Apps (/home/cbroccoli/Apps).  Since veripy does not install as a standard Python module (see how Scapy was installed below to see that), I had to add the location of the base veripy files to the PYTHONPATH environment variable.  This was done by adding the following line to the /etc/environment file:

PYTHONPATH="/home/cbroccoli/Apps/veripy"

Adding the variable to the /etc/environment file ensures that the environment variable is persistent across terminal windows, reboots, etc.  To confirm that the change worked run the following command:

$ printenv PYTHONPATH

With this done, I installed the applications which are required for scapy:

$ sudo apt-get install tcpdump graphviz imagemagick python-gnuplot 
python-crypto python-pyx

Finally, I downloaded and installed Scapy:

$ cd /home/cbroccoli/Downloads
 $ wget scapy.net
 $ unzip scapy-latest.zip
 $ cd scapy-2.*
 $ sudo python setup.py install

Now I was ready to run the tests.
Test Environment

My test environment consists primarily of a single generic Compaq PC with a Intel dual core processor with 4G of memory.  It came with 64bit Windows7 installed.

Other than the Windows7 OS running on the PC, I am using exclusively OpenSource software.  I considered replacing Windows with a Linux desktop, but I decided against it since I am also interested in seeing how Windows7 works.  Instead, I downloaded OracleVirtualBox so that I can also install various Linux systems and still keep my Windows desktop.  VBox installed without any problems and I was able to install virtual hosts immediately.  The first host I installed was an Ubuntu desktop.  VBox comes with several networking methods (NAT, bridged, internal network, and host-only network).  Each has its own benefits which are explained very well in the documentation.

Of course being into networks, I have also downloaded and installed GNS3.  GNS3 is a network simulation tool which allows you to build virtual networks.  The virtual devices actually boot images in a similar way that VBox and VMWare install and boot virtual machines.  Thanks to a colleague of mine, I was able to obtain a couple of Cisco IOS images as well as an ASA image.

Once both tools are installed, the two virtual environments work very well together.  GNS3 can see both the VBox host-only network and the Microsoft Loopback adapter, which is bridged to the external LAN (my WLAN in this case).    By doing this you can build an internal network with a number of routers and Vbox end systems all reachable from your normal home devices.

Finally, I have installed Ubuntu virtual server which I use for testing server features.  The Ubuntu server is currently running Apache, MySQL, and PHP so that I could learn about b2evolution (the blogging engine I am using) before integrating it into the web site.

That’s what I have put together so far.  Next step is to add some configuration details of how each piece is configured since it did take some research to get things working and I need to get them documented.