The information below is a summary of the information presented in the article Best Practices and Reference Architectures for VPC Design.
Best Practices for VPCs
- Use Custom Mode VPCs to align with corporate IP addressing schemes
- Use larger subnets and leverage native GCP functionality such as tagging and service accounts to provide fine grained access control
- Use Shared VPCs
- Grant networkuser access at the subnet level
- Use multiple host projects to separate environments and to support higher quotas
- Use dedicated VPC networks for sensitive / regulated environments
Options for Interconnecting VPCs
- VPC Peering – due to the non-transitive nature of peered VPCs this can cause connectivity problems between spoke VPCs. Due to quotas, full mesh configurations become impractical. VPC peering may be an option for shared services VPCs when using 3rd party / market places services (log aggregation, backup, etc.)
- Cloud VPNs or using external addresses – This type of connectivity will incur egress costs when communicating between VPCs in different regions. VM-VM communication using external IP addresses within a region will be charged the same as inter-zonal communication regardless of zone.
- Routing over Dedicated Interconnect – Since the traffic must traverse the connections to the on-prem datacenters, latency and egress costs could become issues
- Multiple NICs on cloud based appliances managing interconnectivity is also an option. Using a Palo Alto or Checkpoint firewall to manage the interconnectivity between VPCs would allow for a classic “on-prem like solution” however there are quotas on the number of NICs and the appliance itself can become a bottleneck.
DNS
Since all Cloud DNS instances use the same IP prefix when performing lookups to on prem DNS servers, the prefix can only be advertised from one host VPC environment. Therefore, best practice for DNS forwarding from multiple shared VPCs (for example a Dev and a Prod SVPC) is to have two separate Cloud DNS instances, one in each host project. Only one of the Cloud DNS instances is responsible for performing name lookups for on-prem hosts and thus all responses will be routed correctly back. In this case three domains are configured… onprem.corp.com, prod.gcp.corp.com and dev.gcp.corp.com. The dev Cloud DNS instance refers all lookups for corp.com to the prod Cloud DNS instance which forwards the requests to on-prem.
Network Security
- Limit access to public IPs and the Internet but enable Private Service Access so that Google based services can be reached via internal addresses.
- Leverage Cloud NAT to allow for specific internet access
- Leverage native firewall policies to only allow necessary access to hosts.
- Leverage firewall appliances with multiple NICs to filter traffic to/from the Internet if necessary. Note the scalability limitations.
- Limit access to Google managed services such as Big Query and Cloud Storage using VPC Service Controls which defines a trusted perimeter for these services. This will control access from the Internet and from specific VPCs. On-prem environments can also be included in the perimeter.
- Firewall Policies
- Subnet Isoltion – If using subnets to group hosts, then set a subnet based filter in the firewall policy to allow for hosts within a subnet to communicate freely.
- If hosts are spread across subnets use target filtering via service accounts or firwall tagging to manage access to hosts. Service accounts are preferred over tagging since tags can be changed easier than service accounts.
- Use automation to monitor changes to VMs such as updates to network tags
Identity Aware Proxies
Authenticates HTTP access to services behind a load balancer or App Engine Standard services. Requires a Google authentication and membership in the correct IAM role to be able to access the resource behind the IAP enabled service.
API Access for Google Managed Services
- Where possible use the default gateway. This will allow for Private Google Access to work without additional configuration.
- If using the default gateway is not an option, then to enable Private Google Access you need to add specific routes for Google managed service subnets.
Logging and Monitoring
- Enable flow logs on all subnets but tailor them to the intended audience so that they provide value.
- Logging all network traffic can be expensive so limit the amount of data by adjusting the log aggregation interval, using sampling or removing metadata when it is not needed.
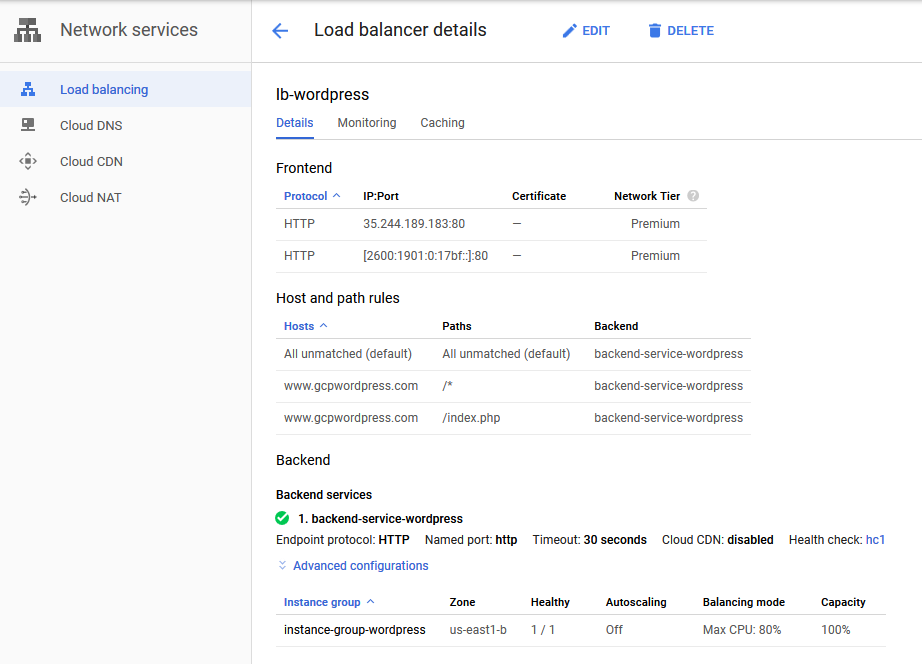
Load Balancer Options
- Internal traffic
- HTTP(S) traffic use Internal HTTPS Load Balancer (proxied)
- TCP/UDP traffic use Internal TCP/UDP Load Balancer (passthrough)
- External traffic
- HTTP(S) traffic use Global HTTPS Load Balancer (proxied)
- TCP traffic with SSL offload use SSL Proxy
- TCP traffic without SSL offload use TCP Proxy
- TCP/UDP traffic preserving client IP use Network Load Balancer
- Only the Global HTTPS load balancer and the SSL / TCP proxies are Global services, all of the others are regional
Network Tiers
- Apply to externally facing services
- Standard Tier allows for only regionally available external IP addresses, all user traffic must be routed to the region where the service is located
- Premium Tier allows for the use of globally available external IP address, all user traffic is routed to the closed GCP POP and then routed over the Google backbone to the region where the service is located.
- All internal traffic runs on the Premium Tier
- Can be applied on a per resource basis